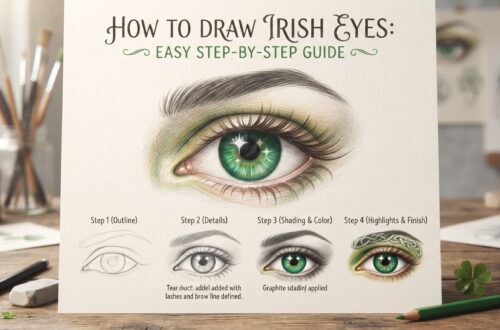
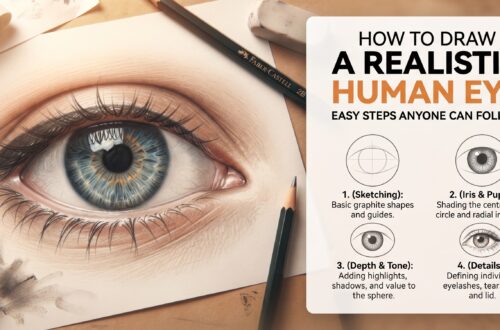
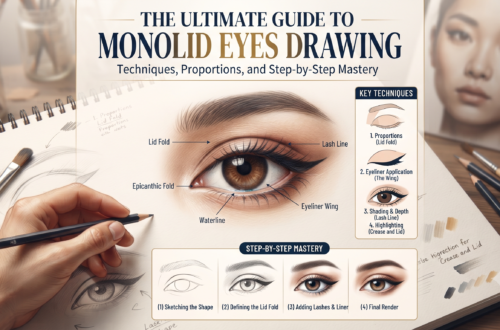
Drawing eyes is one of the most rewarding yet challenging pursuits for any artist. When you transition from standard brown or solid blue to the multifaceted, shimmering complexity of blue-green eyes, the challenge multiplies—and so does the visual payoff. Blue-green eyes (often called hazel-blue, aqua, or teal eyes) possess a rare, mesmerizing quality. They seem to shift colors depending on the light, what the subject is wearing, and their surrounding environment.
In this comprehensive guide, we will break down everything you need to know about capturing the unique chromatic harmony of blue-green eyes drawing. Whether you are working with graphite pencils, colored pencils, or digital painting software, mastering the interplay of cool and warm tones is the secret to making your artwork come alive.
Understanding the Anatomy of Blue-Green Eyes
Before putting pencil to paper, it is crucial to understand how eye anatomy interacts with light and color. Unlike flat surfaces, the human eye is a wet, spherical, layered optical instrument.
1. The Iris Structure
The iris is not a flat disc of solid color; it is a complex web of fibers, crypts, and furrows radiating outward from the pupil. In blue-green eyes, you are typically dealing with a combination of two distinct optical phenomena:
- Rayleigh Scattering: The same physics that makes the sky blue causes lower density pigments in the stroma to scatter blue light.
- Lipochrome Pigment: A yellowish-brown pigment that, when layered over or mixed with the blue structural scattering, creates vibrant teal, turquoise, and sea-green hues.
2. Highlights and Reflections
The moist cornea creates specular highlights—bright, sharp reflections of light sources (like a window, lamp, or studio softbox). These highlights are essential because they sell the illusion of wetness and spherical depth. Never leave the eye pure white everywhere, but ensure your primary highlights have crisp, hard edges.
Essential Materials for Eye Drawing
To achieve the rich, luminous quality of blue-green eyes, your choice of materials matters immensely.
For Traditional Colored Pencils
- High-Pigment Pencils: Brands like Polychromos (Faber-Castell) or Carand’Ache Luminance offer the buttery blending power needed to layer blues and greens without creating a muddy texture.
- Key Color Palette: You will need cyan, cobalt blue, dark indanthrone blue, sap green, olive green, raw umber (for warm contrast near the pupil), and white or cream for highlights.
- Paper: Choose a fine-to-medium tooth drawing paper (like Strathmore Bristol Vellum or Arches Hot Press watercolor paper) that can hold multiple layers of pigment.
For Graphite and Charcoal (Monochrome Study)
If you are practicing the tonal values before adding color, use a range from 2H to 8B pencils. Remember that blue translates to a mid-to-dark grey tone depending on the shade, while green tones often hold slightly lighter or mid-range values.
Step-by-Step Guide: Drawing Blue-Green Eyes
Follow this structured, step-by-step roadmap to build a realistic and striking blue-green eye drawing from scratch.
Step 1: Accurate Outlining and Proportion
Begin with light, sweeping gesture lines using an HB or 2H pencil.
- The Shape: Avoid drawing a football shape. Human eyes have asymmetrical curves—the highest point of the upper eyelid arch is usually slightly medial (closer to the nose) rather than dead center.
- Placement: Map out the tear duct (caruncle) carefully, as this fleshy pink corner grounds the eye in reality. Draw the circular iris, making sure a portion of it is tucked underneath the upper eyelid.
Step 2: Mapping the Shadow and Value Foundation
Establish your light source early. If light comes from the top left, the upper eyelid will cast a soft, curved shadow across the top portion of the iris and the white of the eye (sclera).
- Shade the pupil jet black, leaving space for any major highlights that overlap it.
- Lightly shade the sclera, remembering it is a sphere. The corners near the edges are darker because they curve away from the light.
Step 3: Layering the Base Colors (The Blue Foundation)
When working with color, always build from light to dark.
- Lay down a light wash of soft sky blue or pale turquoise across the entire iris, avoiding the areas where you want bright highlights or amber bursts.
- Keep your pencil strokes directional—radiating outward from the pupil to the outer edge of the iris (the limbic ring).
Step 4: Introducing the Green and Hazel Undertones
This is where the magic happens. Over your blue base, gently introduce green tones.
- Use a light sap green or emerald hue, blending it into the mid-section of the iris.
- Around the inner margin (near the pupil), add subtle touches of raw umber, burnt ochre, or hazel brown. Blue-green eyes almost always feature a warm “sunburst” or flare of golden-brown around the pupil, which creates a stunning complementary contrast against the cool outer blues and greens.
Step 5: Deepening the Limbic Ring and Shadows
The limbic ring is the dark, defining border separating the iris from the sclera.
- Darken this outer edge heavily with a deep indigo, dark teal, or blackish-green. A sharp, well-defined limbic ring instantly adds youthfulness and high-definition clarity to the eye.
- Deepen the shadows cast by the upper eyelid onto the top of the iris. This creates the illusion that the eyelid is casting a physical shadow over a three-dimensional sphere.
Step 6: Highlights, Eyelashes, and Finishing Details
- The Highlights: Use a white gel pen, opaque white gouache, or an electric eraser to punch out the absolute brightest highlights.
- Eyelashes: Draw eyelashes tapering outward in natural clumps. They should cast faint, delicate shadows onto the upper sclera and skin. Remember that upper eyelashes curve upward and outward, while lower lashes are shorter, sparser, and curve downward.
Pro Tips for Realistic Eye Art
- Avoid Pure Black: Except for the pupil, avoid using absolute black in the iris. Instead, use deeply saturated dark blues and greens to keep the eye looking transparent and alive.
- Mind the Wet Line: The lower waterline (the thickness of the lower eyelid) has a wet, reflective edge that catches light. Highlighting this subtle strip prevents the eye from looking dry or cartoonish.
- Contrast is King: Make sure your darks are dark enough. The stark contrast between the bright white sclera and the rich blue-green iris is what makes the drawing pop off the page.
Conclusion
Mastering a blue-green eyes drawing is an exercise in patience, color theory, and observation. By respecting the anatomical structure of the eye and carefully layering cool blues with warm greens and golden undertones, you can create hyper-realistic, soulful artwork that captures the viewer’s attention instantly. Grab your pencils, embrace the delicate interplay of light and pigment, and start bringing your aquatic-toned visions to life today!