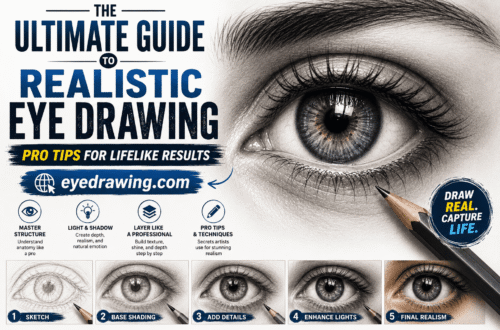
Drawing a realistic eye is often considered the ultimate rite of passage for an emerging artist. It is a complex subject that combines anatomy, light, texture, and observation. Many beginners feel intimidated by the level of detail required, but the secret lies in breaking the eye down into manageable shapes and understanding the structure beneath the surface.
This guide will walk you through the process of drawing a realistic eye, from your first structural sketch to those final, lifelike highlights.
Understanding the Foundation
Before putting pencil to paper, it is crucial to move beyond the “fish shape” misconception. An eye is not just an oval sitting on a face; it is a sphere set within a bony socket, surrounded by skin, eyelids, and muscle.
- The Anatomy: Remember that the eyeball is a sphere. The eyelids wrap around this sphere, meaning they follow a curved trajectory.
- The Structure: Start by observing the brow ridge, the inner corner (tear duct), and the cheekbone. These landmarks help place the eye correctly in the skull.
Essential Tools
For a classic graphite drawing, keep your kit simple:
- Pencils: A range from HB (for sketching) to 4B or 6B (for deep, rich shadows).
- Blending Stump: Essential for creating smooth transitions in the skin and iris.
- Kneaded Eraser: Perfect for lifting out highlights and correcting mistakes without damaging the paper.
- Smooth Bristol Paper: Helps in achieving those crisp, professional-looking details.
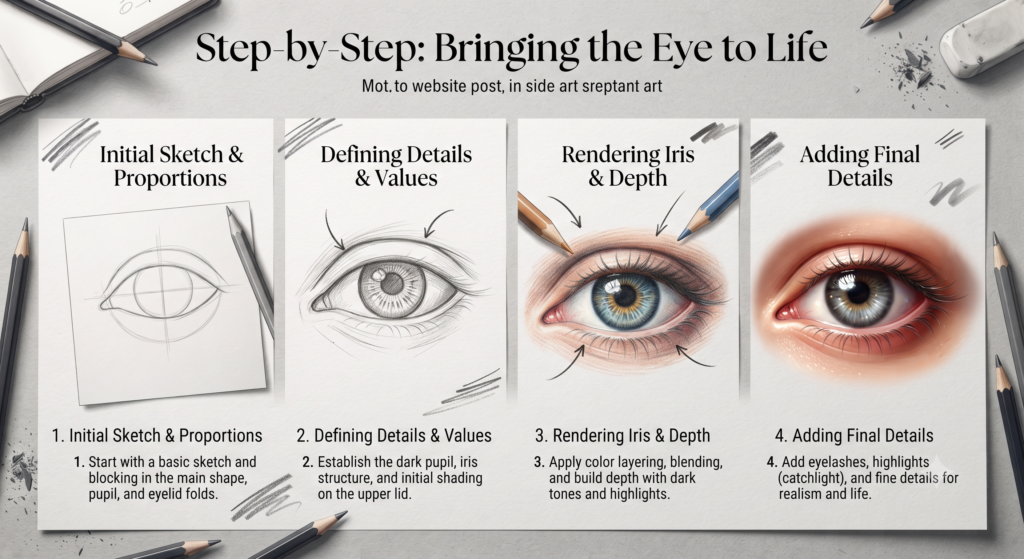
Step-by-Step: Bringing the Eye to Life
Step 1: The Initial Sketch
Begin with a light HB pencil. Do not press hard; you want your lines to be easily erasable or blendable later. Outline the general shape of the eye, keeping in mind that the upper eyelid is usually more arched and the tear duct is a crucial anchor point. Draw the iris as a circle, but remember that the upper eyelid usually covers the top portion of it.
Step 2: Mapping the Highlights
Identify your light source. Where the light hits the eye, there will be a bright, crisp reflection (or glare). Lightly sketch the shape of this reflection—often a square or circle—and leave it white. Protecting your highlights early on is the key to a realistic, “wet” look.
Step 3: Shading the Pupil and Iris
Using your darkest pencil (6B), fill in the pupil completely. Moving to the iris, use your pencil to draw “spokes”—lines radiating out from the pupil. Vary the thickness and length of these lines to create organic depth. Avoid outlining the iris with a heavy, harsh line; instead, let the edges of the iris blend softly into the surrounding sclera (the white of the eye).
Step 4: Adding Depth to the Sclera
A common mistake is leaving the sclera pure white. To make it look round, you must shade it. The corners of the eye are typically darker as they curve away from the light, and there is often a shadow cast by the upper eyelid. Use a light touch to add subtle gradients.
Step 5: The Eyelashes and Eyebrows
Eyelashes are not straight spikes; they are curved and grow in bundles. Start them at the base of the eyelid and flick your pencil upward and outward, applying more pressure at the base and less at the tip. For the eyebrow, use short, directional strokes that follow the growth pattern of the hair, rather than drawing a solid block.
Step 6: Refinement and Contrast
The final step is what separates a good drawing from a great one: contrast. Go back over your darkest areas—the pupil, the deepest shadows of the crease, and the root of the eyelashes—to make them truly black. Use your kneaded eraser to sharpen your highlights. If the drawing looks flat, it is usually because you are afraid to go dark enough.
Common Mistakes to Avoid
- Symmetry Overload: Don’t make your eyes perfectly symmetrical. Nature is rarely perfect; subtle variations make the drawing feel human.
- The “Fish Eye”: Avoid drawing a uniform, almond-shaped eye. Remember the spherical volume beneath the lids.
- Rushing the Details: Realistic drawing is a game of patience. Take your time to build up layers rather than trying to finish in one pass.
Final Thoughts
Drawing realistic eyes is a skill that improves with every attempt. By understanding the anatomy, respecting the light source, and being willing to layer your shading, you will move beyond simple outlines and into the realm of true realism. Keep your reference photos close, practice regularly, and most importantly, enjoy the process of watching a soul emerge on your page.