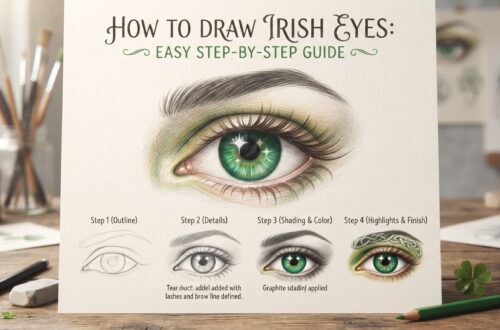
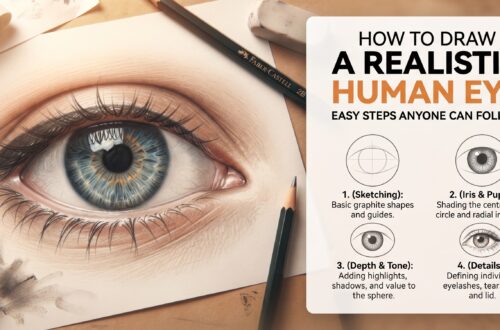
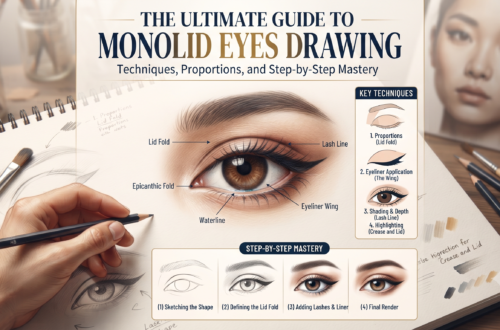
Drawing a realistic eye is often considered the “rite of passage” for any aspiring artist. The eye is, after all, the window to the soul, and capturing its depth, wetness, and structure can transform a flat portrait into something that feels truly alive.
If the prospect of drawing eyes intimidates you, take a deep breath. You don’t need to be a master painter to achieve realism. You simply need to stop drawing what you think an eye looks like (a football shape with a circle inside) and start observing the actual geometry and light play occurring on the surface.
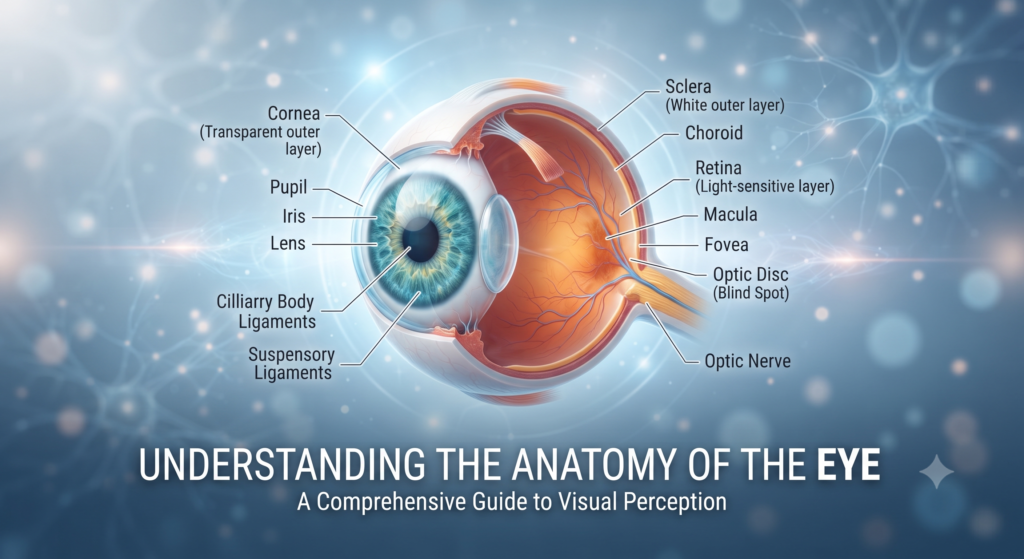
Understanding the Anatomy of the Eye
Before putting pencil to paper, understand that an eye is not a flat sticker on the face. It is a sphere sitting inside a bony socket.
- The Globe: The eyeball is a ball. This means the eyelids wrap around a curved surface.
- The Socket: The eye is recessed. The brow bone above and the cheekbone below create shadows that give the eye its “depth.”
- The Eyelids: These are not just lines; they have thickness. When you draw the upper and lower lids, you are essentially drawing the edges of two thick flaps of skin.
Step-by-Step: Drawing Your First Realistic Eye
To follow this guide, grab a 2B pencil for general shading, a 4B or 6B for dark areas (pupil and lashes), and a kneaded eraser for highlights.
Step 1: The Shape (The “Football” Trap)
Most beginners draw a symmetrical football shape. Real eyes are rarely symmetrical.
- Sketch a light, angled horizontal line to determine the tilt of the eye.
- Draw the upper eyelid as an arch that peaks slightly off-center (usually toward the nose).
- The lower eyelid is a shallower, flatter curve.
- Pro Tip: Remember to draw the “tearduct” (caruncle) as a small, rounded wedge at the inner corner.
Step 2: The Iris and Pupil
The iris is a perfect circle, but it is partially hidden by the upper eyelid. If you draw the full circle of the iris, the eye will look surprised or “bug-eyed.”
- Draw a circle that touches the top lid and slightly overlaps the bottom lid.
- Place the pupil dead center. It should be a dark, solid circle.
- Crucial Detail: Leave a small white gap for a “specular highlight”—this is the reflection of light sources, and it is what makes the eye look wet and realistic.
Step 3: Adding Depth with Shading
Now, we give the eye weight.
- The Upper Lid Shadow: The upper eyelid casts a slight shadow onto the top of the eyeball. Use your 2B pencil to lightly shade the top portion of the iris.
- The Sclera (White of the eye): Don’t leave this pure white! Use a light grey tone to shade the corners of the eye. Since the eye is a sphere, the sides curve away from the light, meaning they should be slightly darker than the center.
Step 4: Bringing the Iris to Life
The iris is not one flat color. It is made of radial fibers.
- Start from the pupil and draw tiny, thin lines moving outward like the spokes of a wheel.
- Keep the edges of the iris darker, and let the center be slightly lighter to show texture.
- Apply your darkest pressure right around the pupil and at the very outer ring of the iris (the limbal ring).
Step 5: The “Thick” Eyelids
Remember those thick flaps of skin? Draw a secondary line parallel to your upper eyelid line to represent the thickness of the skin. This adds immense realism.
Step 6: Eyelashes (The Secret to Realism)
The biggest mistake beginners make is drawing “spider legs” that look like straight lines sticking out of the eyelid.
- Eyelashes grow in clusters. They are not perfectly spaced.
- They have a curve. They grow from the edge of the lid, not the skin above it.
- Flick your pencil upward and outward in a quick motion. Start at the root (press harder) and lift off at the tip (press lighter) so the lash tapers to a point.
- Layer them: have some overlapping others.
Common Pitfalls to Avoid
- Outlining Everything: In nature, objects don’t have thick black outlines. Use shading to define edges rather than dark lines.
- Forgetting the Highlight: Without that tiny white dot in the pupil/iris, the eye will look dead. That dot represents the light source in the room.
- Static Pupils: Make sure the pupil is perfectly round. If it’s slightly oval, it will look distorted.
Practice Exercises for Mastery
If you want to get better quickly, try these three drills:
- The Texture Study: Spend 10 minutes just drawing different iris patterns—some speckled, some with thin lines, some darker.
- The Angle Challenge: Draw the same eye from three different angles: looking straight, looking left, and looking right. Notice how the shape of the iris changes as it moves.
- The Light Source Shift: Draw an eye with the light coming from the left, then try it with the light coming from the right. Watch how the shadows on the eyeball shift.
Final Thoughts
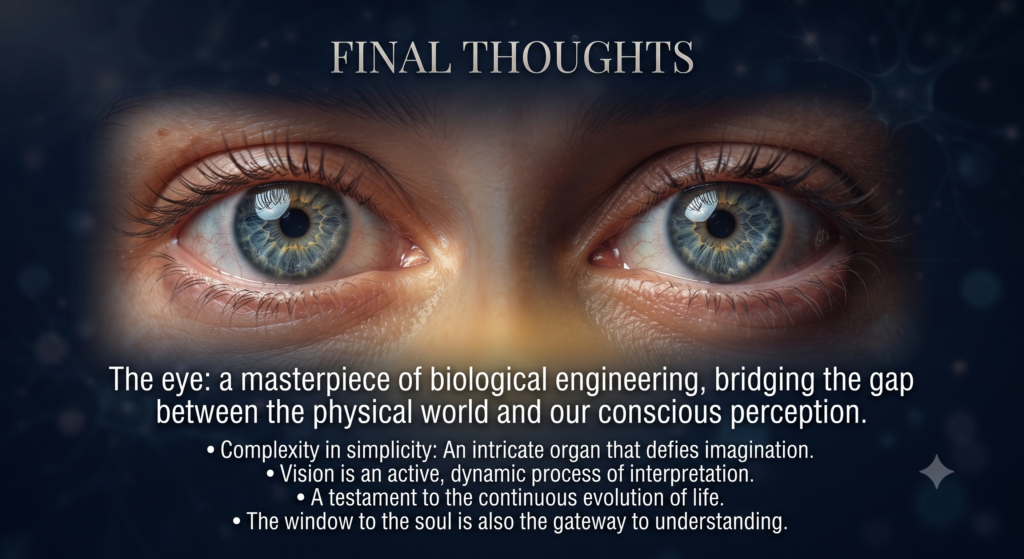
Realistic drawing is less about talent and more about patience. An eye won’t look realistic in the first five minutes. It’s the subtle transitions—the soft shadow under the brow, the slight curve of the lower lid, the messy, natural look of the eyelashes—that pull it all together.
Keep your pencils sharp, observe your own eyes in a mirror, and don’t be afraid to erase and try again. Every drawing is a lesson, and every lesson gets you one step closer to capturing the “window to the soul.”