The smokey eye is far more than a passing cosmetic trend; it is a foundational masterclass in the manipulation of light, shadow, and edge control. Just like rendering a three-dimensional sphere on a flat piece of paper, executing a flawless smokey eye requires an understanding of how values transition from deep darks to luminous highlights.
When done incorrectly, heavy shadows can compress the eyes, making them appear small, muddy, or bruised. When done correctly, it creates an optical illusion of incredible depth, elongating the eye shape and making the iris pop.
Whether you are approaching this as a makeup enthusiast looking for a foolproof application method or an artist studying the behavior of pigments on the human canvas, this definitive guide will break down the precise mechanics of the classic smokey eye.
1. The Anatomy of a Perfect Gradient
To build a high-impact smokey eye that retains dimension, you must work with a clear value scale. A classic mistake is applying a heavy black or deep brown directly across the entire eyelid, which flattens the natural curvature of the eyeball. Instead, think of your eyelid as a landscape where light hits different planes with varying intensity.
[Brow Bone: Pure Highlight] ➔ [Crease: Mid-Tone Transition] ➔ [Mobile Lid: Deep Value Gradient] ➔ [Lash Line: Maximum Saturation]
A flawless look relies on four specific value zones:
- The Anchor (Maximum Saturation): This is your darkest value, placed directly against the upper and lower lash lines to anchor the look and create a dense, thick-lash appearance.
- The Body (Medium-Dark Value): The primary color on your mobile lid that builds the core moody, diffused aesthetic.
- The Transition (Mid-Tone): A soft, neutral shade placed in the crease line. This acts as the bridge between your deep lid colors and your natural skin tone, ensuring no harsh lines exist.
- The Highlight (Luminous Light): Placed on the brow bone and the inner tear duct to lift the eye architecture and keep the look open and awake.
2. Essential Tools of the Trade
Before laying down any color, your tools dictate your level of edge control. Using the wrong brush will move pigment to areas you didn’t intend, destroying the gradient.
| Tool Type | Purpose | Why It Matters |
| Flat Shader Brush | Pigment placement on the mobile lid. | Dense bristles pack color tightly onto the skin without causing fallout. |
| Fluffy Blending Brush | Softening transitions in the crease. | Long, loose bristles diffuse the edges of eyeshadow for a seamless gradient. |
| Detail Pencil Brush | Lower lash line definition. | Small, pointed shape allows precise, controlled smudging close to the waterlines. |
| Waterproof Cream Base | Eyeliner or kohl pencil base. | Acts as a magnet for powder shadows, giving them maximum vibrancy and longevity. |
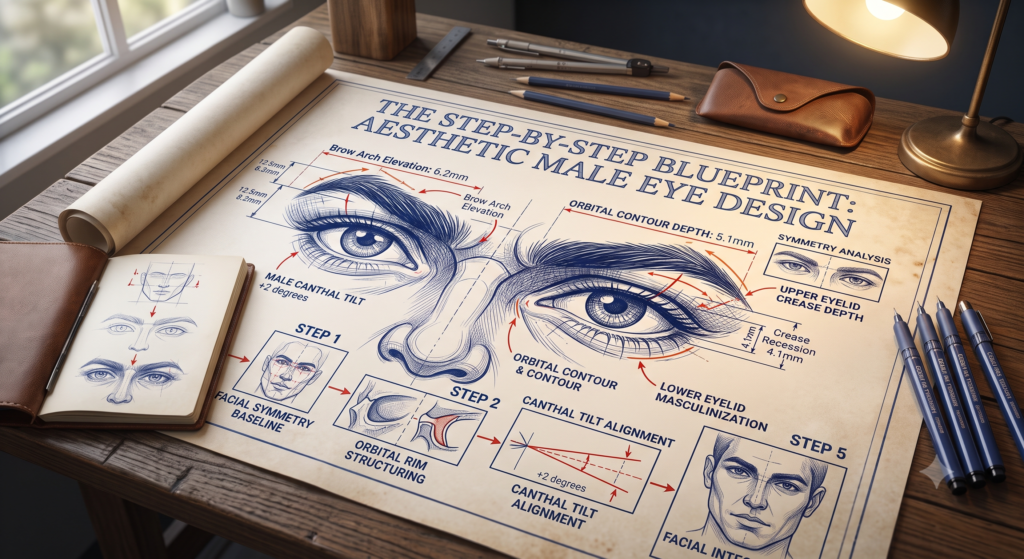
3. The Step-by-Step Blueprint
This step-by-step technique prioritizes structure and blending control, ensuring your gradient remains clean and professional.
1.Canvas Preparation:Step 1: Priming.
Start with clean, oil-free eyelids. Apply a thin layer of eye primer from the lash line all the way up to the brow bone, patting it in smoothly. This neutralizes discoloration and locks down pigments to prevent creasing or fading throughout the day.
2.Lay the Transition Shade:Step 2: Building the Bridge.
Dip a fluffy blending brush into a soft, mid-tone neutral shade—such as a warm taupe, soft caramel, or mauve. Sweeping the brush in windshield-wiper motions, buff this color directly into the crease of the eye. This forms the soft edge that your darker lid shades will later blend into smoothly.
3.Apply the Deep Base:Step 3: Defining the Core.
Take a rich cream gel eyeliner or a soft kohl pencil and sketch along your upper lash line. Before it sets, use a dense, flat shader brush to smudge the cream upward, stopping just below the crease line. This deep base ensures your final look has incredible depth and no gaps of skin showing through.
4.Pack and Blend Powder Shadows:Step 4: Creating the Gradient.
Using a flat brush, press your primary dark eyeshadow directly over the cream base you just smudged. Once the lid is fully saturated, take your fluffy blending brush (with no extra product) and gently work in small circular motions right where the dark lid color meets your transition shade. Blend until the line completely vanishes into a soft, smoky mist.
5.Smoke the Lower Lash Line:Step 5: Balancing the Visual Weight.
To avoid top-heavy eye makeup, connect the look by dragging a small pencil brush coated in your medium-dark shadow along the lower lash line. Smudge it softly from the outer corner inward, stopping about two-thirds of the way across to keep the inner eye bright and open.
6.Highlight and Intensify:Step 6: High Contrast Finish.
4. Modern Adaptations for 2026
Place a luminous champagne or soft bone-colored shimmer shade on the inner tear duct and directly beneath the arch of the brow bone. Finish by coating the upper and lower lashes with two coats of intense black volumizing mascara to frame your look perfectly.
While the dense, matte black smokey eye remains a timeless classic, current beauty aesthetics lean toward variations that favor soft drama and texture over harsh lines.
The Soft Goth / Grunge Evolution
Instead of using stark blacks, modern trends utilize rich espresso browns, deep plum-blacks, and rich oxblood tones. These shades are heavily diffused at the edges to create a lived-in, effortless vibe that is incredibly flattering and wearable for daytime contexts.
The Caramel / Monochrome Wash
One of the breakout styles involves monochromatic application using warm terracotta, burnt sienna, and rich caramel tones. By using a single color family across the eye and softly blending it outwards into a haze, you create an editorial, high-fashion look that emphasizes the natural shape of the eye without looking overly done.
High-Shine Metallic Overlays
Adding a pop of high-shine metallic shadow, chrome pigment, or wet-look gloss directly to the dead center of the mobile lid (the “halo” effect) adds an immediate three-dimensional punch. This breaks up the heavy matte texture, catching the light dynamically with every blink.
5. Pro Tips for Flawless Execution
- The Tape Trick for Sharp Edges: If you struggle to keep your eyeshadow from drooping downward at the outer corners, place a small piece of medical tape or scotch tape from the outer lower lash line pointing up toward the tail of your eyebrow before applying shadow. Pull it away at the end to reveal a perfectly crisp, lifted edge.
- Do Your Eyes First: Deep shadows are notorious for dropping loose pigment onto your cheeks during application (fallout). To protect your look, finish your entire smokey eye tutorial before applying foundation or concealer. This allows you to easily wipe away any fallen dark specks without ruining your skin makeup.
- Keep the Rest of the Face Balanced: Because a smokey eye carries immense visual weight, balance the rest of your look. Pair your dramatic eyes with hydrated skin, soft blush, and a nude or clear, glossy lip to ensure your features are not competing for attention.