Have you ever stared at a blank page in your sketchbook, pencil in hand, waiting for inspiration to strike, only to end up frustrated with the final result? You are not alone. Millions of aspiring artists in the US share the exact same feeling.
The truth is, drawing isn’t a magical, genetic talent that you either have or you don’t. It is a mechanical, visual skill. Just like learning to play the guitar or writing code, it is a discipline built on foundational techniques. If you know the right principles, you can fast-track your progress significantly.
Whether your goal is to master realistic portraits, design concept art, or simply enjoy a relaxing hobby after work, these ten actionable drawing tips will help you break through plateaus and improve your sketching skills immediately.
1. Upgrade Your Workspace, Not Just Your Supplies
When people decide to learn how to draw, they often run to the nearest art supply store and buy the most expensive professional pencils and markers. This is a common trap. Your gear won’t make you a better artist; your technique will.
Instead of spending a fortune on luxury brands, focus on your physical setup. Make sure you have:
- Consistent Lighting: Ideally, a desk lamp that you can position to avoid casting shadows over your drawing hand.
- Comfortable Seating: Drawing often requires hours of sitting. Good posture protects your lower back and shoulders.
- The Right Paper: Use standard, inexpensive sketch paper (around 60 lb to 80 lb weight) for daily practice so you don’t feel precious about making mistakes. Save the expensive, heavy Bristol board for your finished masterpieces.
2. Loosen Your Grip and Draw From the Shoulder
Take a look at how you hold your pencil. If you are gripping it tightly right next to the graphite point—the same way you write a grocery list—you are restricting your range of motion. Writing uses only your fingers and wrist, which is perfect for small, tight letters, but terrible for long, flowing lines.
To draw clean, confident lines:
- Hold the pencil further back, toward the middle or the end.
- Lock your wrist and elbow slightly.
- Move your entire arm from your shoulder joint.
This simple adjustment lets you sketch larger shapes effortlessly, keeps your lines straight, and prevents hand fatigue.
3. Break the World Down Into Basic Geometric Shapes
When a beginner looks at a complex subject, like a human face or a vintage car, they try to draw the outer outlines immediately. This almost always leads to skewed proportions.
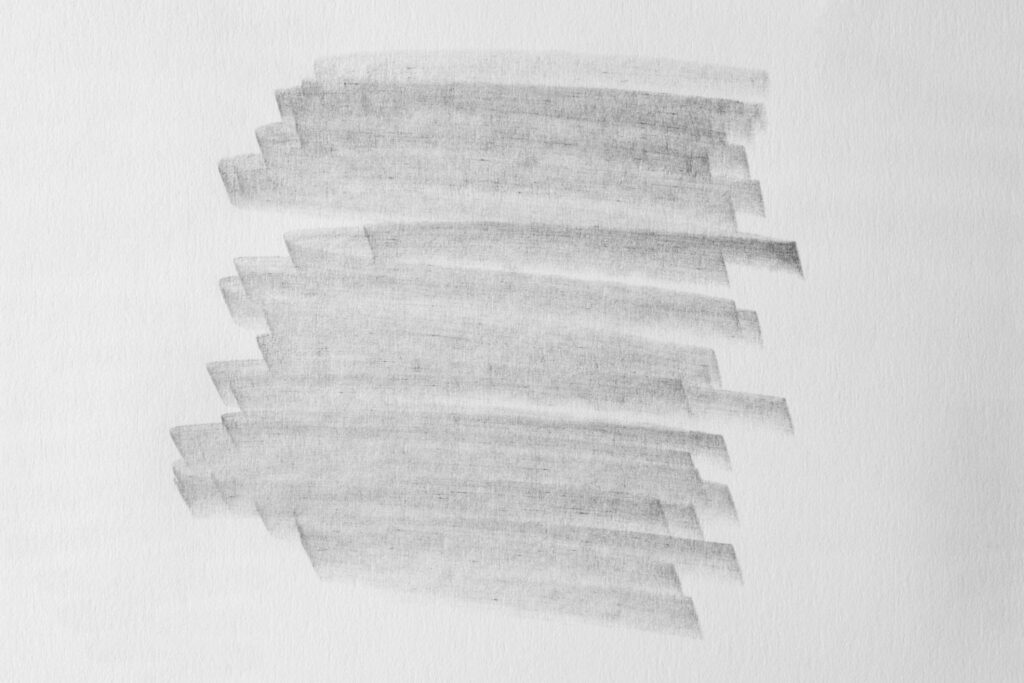
Practicing fundamental pencil control. Source: Shamil / Getty Images
Every complex object in the physical world can be broken down into four foundational forms:
- The Sphere (Apples, human skulls, basketballs)
- The Cylinder (Arms, tree trunks, coffee mugs)
- The Cube/Box (Houses, books, vehicles)
- The Cone (Noses, pine trees, funnel shapes)
Before adding a single detail, sketch these basic shapes lightly on your paper to map out the correct proportions. If the underlying shapes are accurate, the details will naturally fall into place.
4. Master the Art of Value and Shading
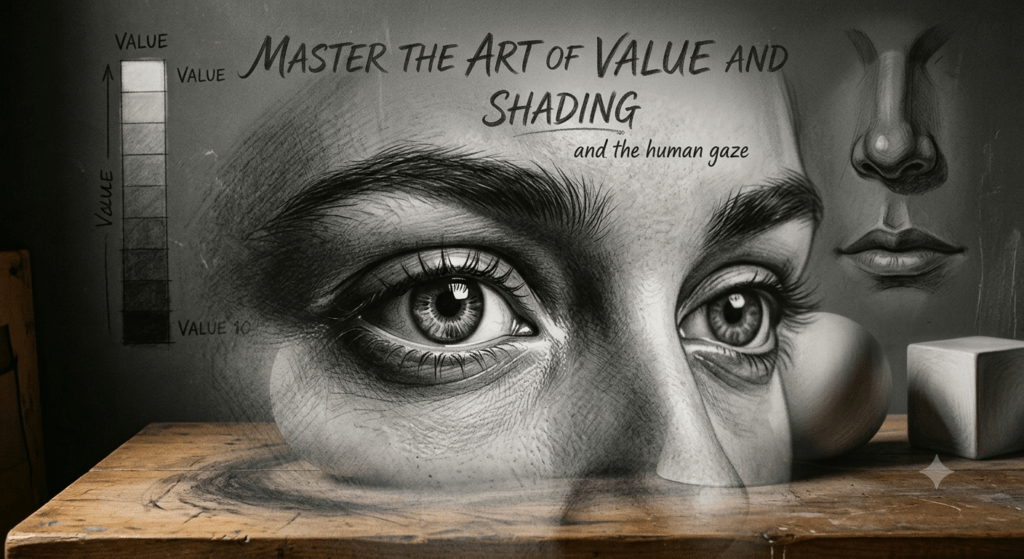
“Value” refers to how light or dark a color is. It is the secret weapon that transforms a flat, two-dimensional line drawing into a realistic, three-dimensional object. Without a wide range of values, your art will look washed out.
To build your value skills, practice creating a Value Scale. Draw a long rectangle and divide it into 5 to 7 equal boxes. Leave the first box completely white. Make the last box as pitch-black as your pencil allows. Then, fill in the middle boxes with a smooth transition of grays from light to dark.
When shading a real object, remember to identify your light source. This determines where your highlights go, where the midtones blend, and where the darkest cast shadows fall on the surface.
5. Measure Proportions Vertically and Horizontally
Have you ever drawn an eye perfectly, only to realize the other eye is twice as big and placed too far down the face? Misjudging proportions is the number one hurdle for beginner artists.
To fix this, use your pencil as a manual measuring tool:
- Hold your arm out completely straight toward your subject.
- Close one eye and align the tip of your pencil with the top of the object.
- Slide your thumb down the pencil to mark the bottom or midpoint of the object.
- Use that specific distance as a baseline unit to measure other parts of your subject.
By comparing heights and widths directly against each other, you ensure that your drawing remains balanced and highly accurate.
6. Embrace Negative Space
Most of the time, we focus entirely on the subject we are trying to draw (the positive space). However, paying attention to the spaces around and between your subjects (the negative space) is just as critical.
For example, if you are sketching a person sitting on a chair with their hands on their hips, don’t just look at the shape of the arms. Look at the empty, triangular shape created between the arm and the torso. Because your brain doesn’t have a preconceived idea of what a “negative space triangle” looks like, you will draw it exactly as it appears, which automatically corrects the proportions of the arm.
7. Draw What You Actually See, Not What You Think You See
Human brains are wired for efficiency. When you look at an object, your brain immediately categorizes it. If you look at an eye, your brain tells you, “An eye is an almond shape with a circle in the middle.”
As a result, beginners often draw their mental symbol of an eye instead of the unique, specific eye sitting in front of them. This is why copying a photograph upside down is such a popular and effective art school exercise. Turning the image upside down confuses your brain’s recognition software, forcing you to look at pure lines, angles, shapes, and values instead of symbols.
8. Vary Your Line Weight for Instant Depth
A drawing where every single line is the exact same thickness and darkness feels flat and lifeless. Great artists use line weight—the thickness and intensity of a line—to convey depth, weight, and lighting.
As a general rule of thumb:
- Thin, light lines should be used on areas where the light source hits directly, or for objects that are far away in the background.
- Thick, dark lines belong in areas of deep shadow, where two objects meet, or on the bottom edges of objects to show structural weight.
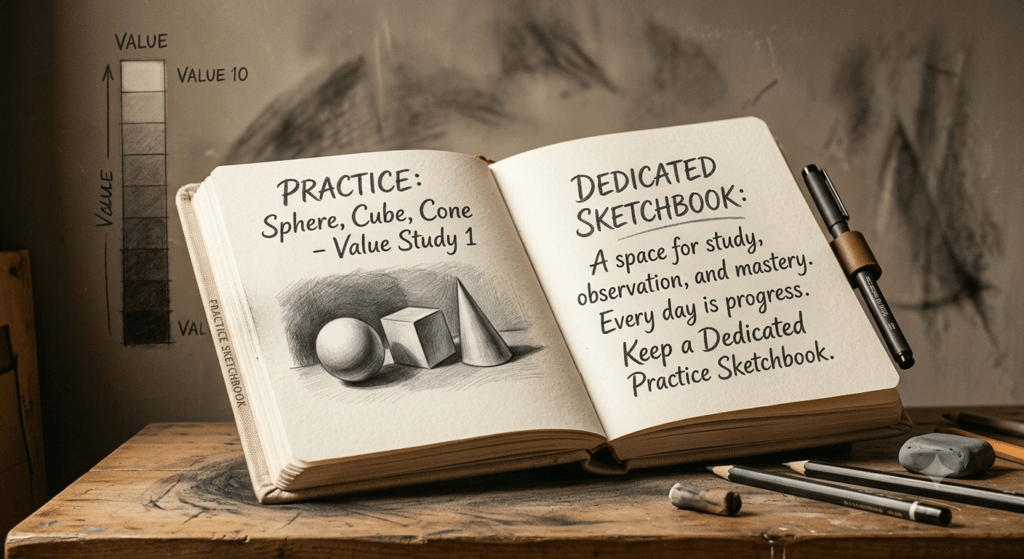
9. Keep a Dedicated Practice Sketchbook
If you only practice drawing when you feel completely inspired to create a finished piece, your progress will crawl. You need a dedicated notebook where you are allowed to fail.
Treat your sketchbook like an athlete treats the gym. Use it for warm-ups, blind contour drawings, quick 2-minute gesture sketches, and rough doodles. By removing the pressure of creating “good art,” you free yourself to experiment, make messy mistakes, and build the vital muscle memory needed for control.
10. Consistency Always Beats Intensity
Practicing for 5 hours straight once every two weeks is far less effective than practicing for 20 minutes every single day.
Drawing is fundamentally a neurological connection between your eyes, brain, and hands. Short, daily practice sessions keep that connection sharp. Set a timer for 15 or 20 minutes every morning or evening, pick up a pencil, and sketch whatever is on your desk—a coffee pod, a pair of scissors, or your own hand. Over the course of a few months, these small chunks of time accumulate into massive skill growth.
The Path Forward
Improving your drawing skills takes patience, but the journey is incredibly rewarding. Do not get discouraged if your sketches don’t match the vision in your head right away. Every bad drawing you make is a necessary stepping stone toward a great one.
Grab your sketchbook, loosen your arm, focus on the basic shapes, and start practicing today!