

Are you looking to improve your artistic skills with some cool easy drawings? Mastering the human eye is one of the most rewarding milestones for any artist. Whether you want to create expressive anime characters or capture the intricate details of a realistic portrait, learning to draw eyes is the perfect place to start.
In this guide, we will break down the process into manageable steps. By the end, you’ll have the confidence to sketch eyes that pop off the page!
Why Start with Eye Drawings?
Eyes are the windows to the soul. They convey emotion, tell a story, and act as a focal point for any character design. When you learn how to draw eyes, you are actually learning the fundamentals of shading, proportion, and line quality. Best of all, they are a self-contained subject, making them the ideal practice for “cool easy drawings” when you only have a few minutes of spare time.
Preparing Your Tools
Before we dive into the techniques, ensure you have the right setup. You don’t need expensive gear to get started:
- Graphite Pencils: An HB pencil for sketching and a 4B or 6B for shading.
- Drawing Paper: A smooth surface makes shading much easier.
- Eraser: A kneaded eraser is excellent for lifting graphite to create highlights.
- Blending Stump: A simple tool to smooth out your shading and avoid harsh lines.
Part 1: How to Draw Realistic Eyes
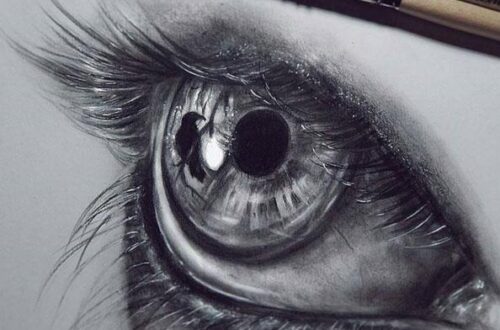
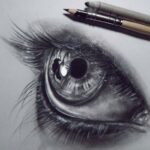
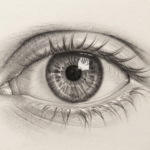
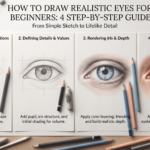
Realistic drawing is all about observing light and shadow. Follow these steps to create a compelling, lifelike eye.
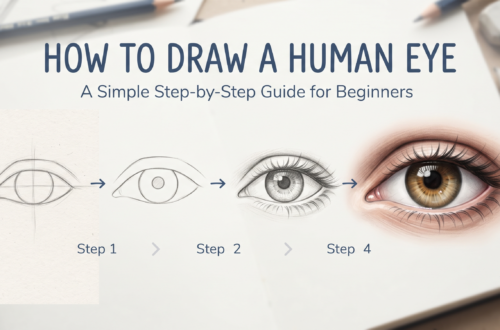
1. Outline the Basic Shape
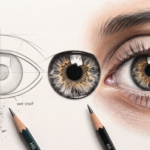
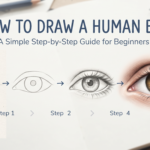
Start with a light, horizontal line. Sketch an almond shape around it. Don’t worry about perfect symmetry; real eyes have slight curves and variations. Keep your lines light so they can be easily erased or blended later.
2. Map Out the Iris and Pupil
Draw a large circle for the iris inside your almond shape. It should touch the top and bottom eyelids slightly. Place a smaller, solid black circle in the center for the pupil. Pro-tip: Leave a small, unshaded white circle inside the pupil—this is your primary light reflection, and it’s the secret to making eyes look “alive.”
3. Add Depth with Shading
Using your darker pencil (4B or 6B), shade the pupil completely. Then, gently shade the iris, leaving the reflection spot clean. Use a blending stump to pull the graphite from the center of the iris outward toward the edges, creating a natural gradient.
4. Refine Eyelashes and Eyebrows
Eyelashes are not straight spikes! Draw them as curved, flowing lines that start thick at the base and taper to a point. Add them primarily to the upper lid, with a few lighter, shorter lashes on the bottom. Finally, sketch the eyebrow using short, flicking motions to mimic individual hairs.
Part 2: How to Draw Anime Eyes
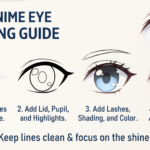
If you prefer a stylized approach, anime eyes are incredibly fun to draw. They allow for more creativity and exaggerated proportions.
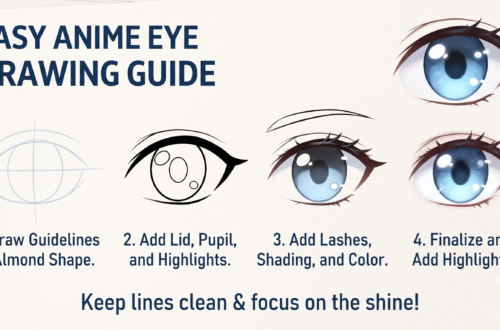
1. Choose Your Shape
Anime eyes can be circular for an innocent look, or triangular/rhombus-shaped for a serious, “cat-like” intensity. Start by drawing the upper eyelid as a thick, dark curve.
2. Focus on Highlights
Unlike realistic eyes, anime eyes often have large, dramatic highlights. Draw a circular or oval shape in the upper part of the eye to reserve a “glare” spot. This is what gives the character their signature shine.
3. Apply Base Colors or Shading
If you are drawing in black and white, apply a base gray to the iris. Darken the top portion of the iris to simulate the shadow cast by the upper eyelid—this adds immediate depth to your drawing.
4. Final Details
Add a few distinct lashes at the corner of the eye. Keep the lines clean and bold. The beauty of anime eyes is that you can customize the amount of detail to fit your specific character style.
Pro-Tips for Better Drawings
To take your cool easy drawings to the next level, keep these professional habits in mind:
- Don’t Fear the Dark: Beginners often press too lightly. Don’t be afraid to use softer pencils to darken your shadows. A high-contrast drawing always looks more professional.
- Practice Proportions: If drawing a full face, remember that the eyes are typically located at the horizontal midline of the head.
- Flip Your Paper: If your drawing looks “off,” flip it horizontally (or hold it up to a mirror). This helps you spot symmetry issues immediately.
- Study References: Look at photos of real eyes to understand how the eyelid wraps around the eyeball. Even in stylized art, understanding the 3D structure helps you draw from different angles.
Conclusion
Drawing eyes is a journey of observation and practice. By starting with these simple techniques, you’ve taken the first step toward creating more complex and beautiful artwork. Remember, every artist was a beginner once. Don’t worry if your first sketch isn’t perfect—the “cool” factor comes with consistent practice.
Keep your sketchbook handy, try different eye shapes, and most importantly, have fun with the process! Which eye style will you try sketching today?
Do you want to learn how to add expressions to your characters next, or are you interested in a guide on drawing other facial features like noses and lips?