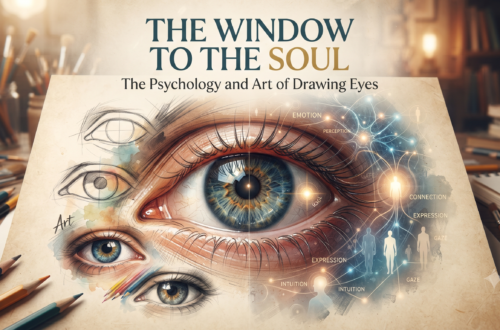



n the world of visual arts, few subjects captivate the human imagination quite like the eye. As the proverbial “window to the soul,” the eye is a complex masterpiece of anatomy, light, and texture. Whether you are a fine artist working with graphite or a tattoo artist transferring hyper-realistic imagery onto skin, mastering the eye is a rite of passage.
This article serves as both a deep dive into the techniques of realistic eye rendering and a guide for building a digital presence that attracts your target audience—specifically those in the United States searching for high-quality art education.
Part 1: The Anatomy of the Realistic Eye
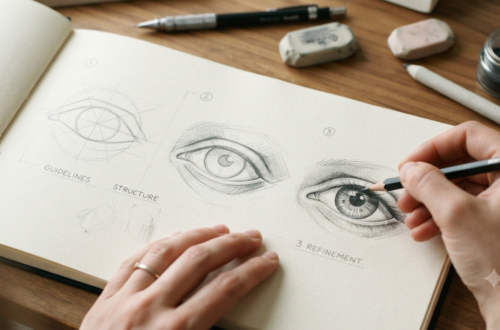
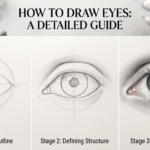
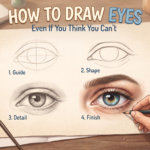
To draw or tattoo a realistic eye, you must stop thinking of it as a flat shape. Most beginners fall into the trap of drawing “football” shapes. Instead, treat the eye as a three-dimensional object resting within a bony socket [1.1.1, 1.1.2].
1. The Structural Foundation
Before you touch your pencil or tattoo machine to the canvas, understand the surrounding architecture [1.1.1].
- The Eye Socket: The eye does not float in space. It is encased by the brow ridge (frontal bone), the cheekbone (zygomatic bone), and the nose bridge (maxilla) [1.1.1]. Shading these areas creates the depth necessary for realism [1.1.2].
- The Eyelid Curvature: Eyelids are thin layers of skin wrapped over a sphere [1.1.1]. Their shape is dictated by the eyeball underneath [1.1.1]. Always look for the “apex”—the highest point of the upper lid—which is rarely perfectly centered [1.1.1].
2. Rendering the Iris and Pupil
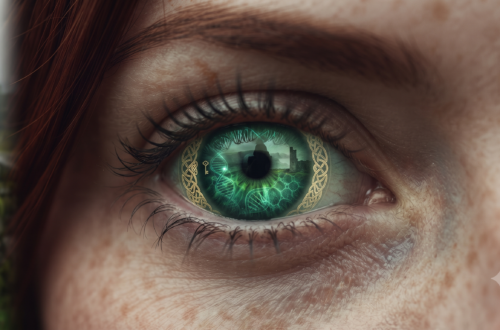
The iris is a textured landscape, not a flat color.
- Layering: Whether using graphite or tattoo ink, work in layers [1.1.3]. Build up your mid-tones first, then selectively darken the areas around the pupil [1.1.3].
- Texture: Use irregular, radiating lines to mimic the fibers of the iris [1.1.2, 1.1.3]. Avoid perfectly uniform circles; organic variation is the secret to realism [1.1.2].
- The Power of Highlights: The reflection (or “catchlight”) is what makes an eye look alive [1.1.3]. Keep this area clean and bright—it is the highest point of contrast in your work [1.1.2, 1.1.3].
Part 2: Bridging Artistry and Tattoo Technique
Transitioning from paper to skin introduces new variables: skin elasticity, ink saturation, and the permanence of the medium [1.4.2].
- Stencil Analysis: For tattoo artists, the stencil is your roadmap [1.4.2]. Analyze your reference image in color to identify where to place your darkest saturations versus your subtle gradients [1.4.2].
- Needle Selection: Mastering texture requires understanding your equipment. Use fine needles for delicate eyelash details and broader groupings for smooth shading of the sclera (the “white” of the eye) [1.4.2].
- Avoiding “Flatness”: A common mistake in realism is failing to account for the shadow cast by the upper eyelid onto the eyeball [1.1.3]. By darkening this specific area, you create a sense of volume that prevents the eye from looking like a sticker placed on the skin [1.4.2].
Part 3: Reaching Your US Audience (SEO Strategy)
To attract an audience specifically in the United States, your website must be optimized for both search engines and the specific intent of American users [1.2.2, 1.3.2].
1. Keyword Strategy
Instead of broad terms like “drawing,” target long-tail, high-intent keywords that your US audience is actually typing into Google [1.3.2].
- Examples: “Hyper-realistic eye drawing tutorial,” “graphite eye sketching techniques,” “tattoo realism workshops for beginners,” or “realistic portrait anatomy guide” [1.2.2, 1.3.1].
- Localization: If you offer in-person workshops or services, ensure your content includes geographic indicators (e.g., “Realism art tutorials in [City, State]”) to capture local traffic [1.2.2, 1.3.2].
2. Content Structure for Higher Rankings
- Long-Form Value: Google favors comprehensive content [1.3.2]. Aim for 1,500+ words on pillar pages that cover a specific technique from start to finish [1.3.2].
- Use Descriptive Headings (H1, H2, H3): Use headings to break your text into readable sections [1.3.2]. This helps Google’s crawlers understand your content hierarchy [1.2.2].
- Image Optimization: Search engines cannot “see” art [1.3.1]. You must provide context via Alt Text [1.3.1]. Instead of
IMG_123.jpg, use:realistic-pencil-drawing-eye-iris-detail-tutorial[1.3.2].
3. Building Authority
- Engage the Community: Reach out to art blogs or tattoo platforms for guest posting opportunities [1.3.1]. A link from a reputable art site to yours acts as a “vote of confidence” for Google [1.3.1].
- Showcase Process: US audiences value transparency [1.2.1]. Share “behind-the-scenes” videos or step-by-step progress photos [1.2.1, 1.3.1]. This builds trust and keeps visitors on your site longer—a key metric for SEO [1.2.1, 1.3.1].
- Mobile Experience: The majority of your US audience will visit your site via mobile devices [1.2.1]. Ensure your site loads quickly and that your art galleries are responsive [1.2.1, 1.3.1].
Final Thoughts
Mastering the realistic eye is a journey of patience, whether you are holding a 4B pencil or a tattoo machine. By combining rigorous anatomical study with a strategic approach to your website’s SEO, you can ensure that your work reaches the artists and clients who are looking for exactly what you have to offer.
Stay consistent, document your process, and continue to refine your technique—your audience is waiting.
Would you like me to help you create a list of specific long-tail keywords based on your website’s current content to further boost your US traffi